Today I decided to start learning iOS programming. I’ve had a great experience with React Native, but some things are just nicer done native. This article covers local notifications, using UNUserNotificationCenter. I’m using Swift 5, Xcode 11 and iOS 13.
This article was published on 07/10/2019.
Setup
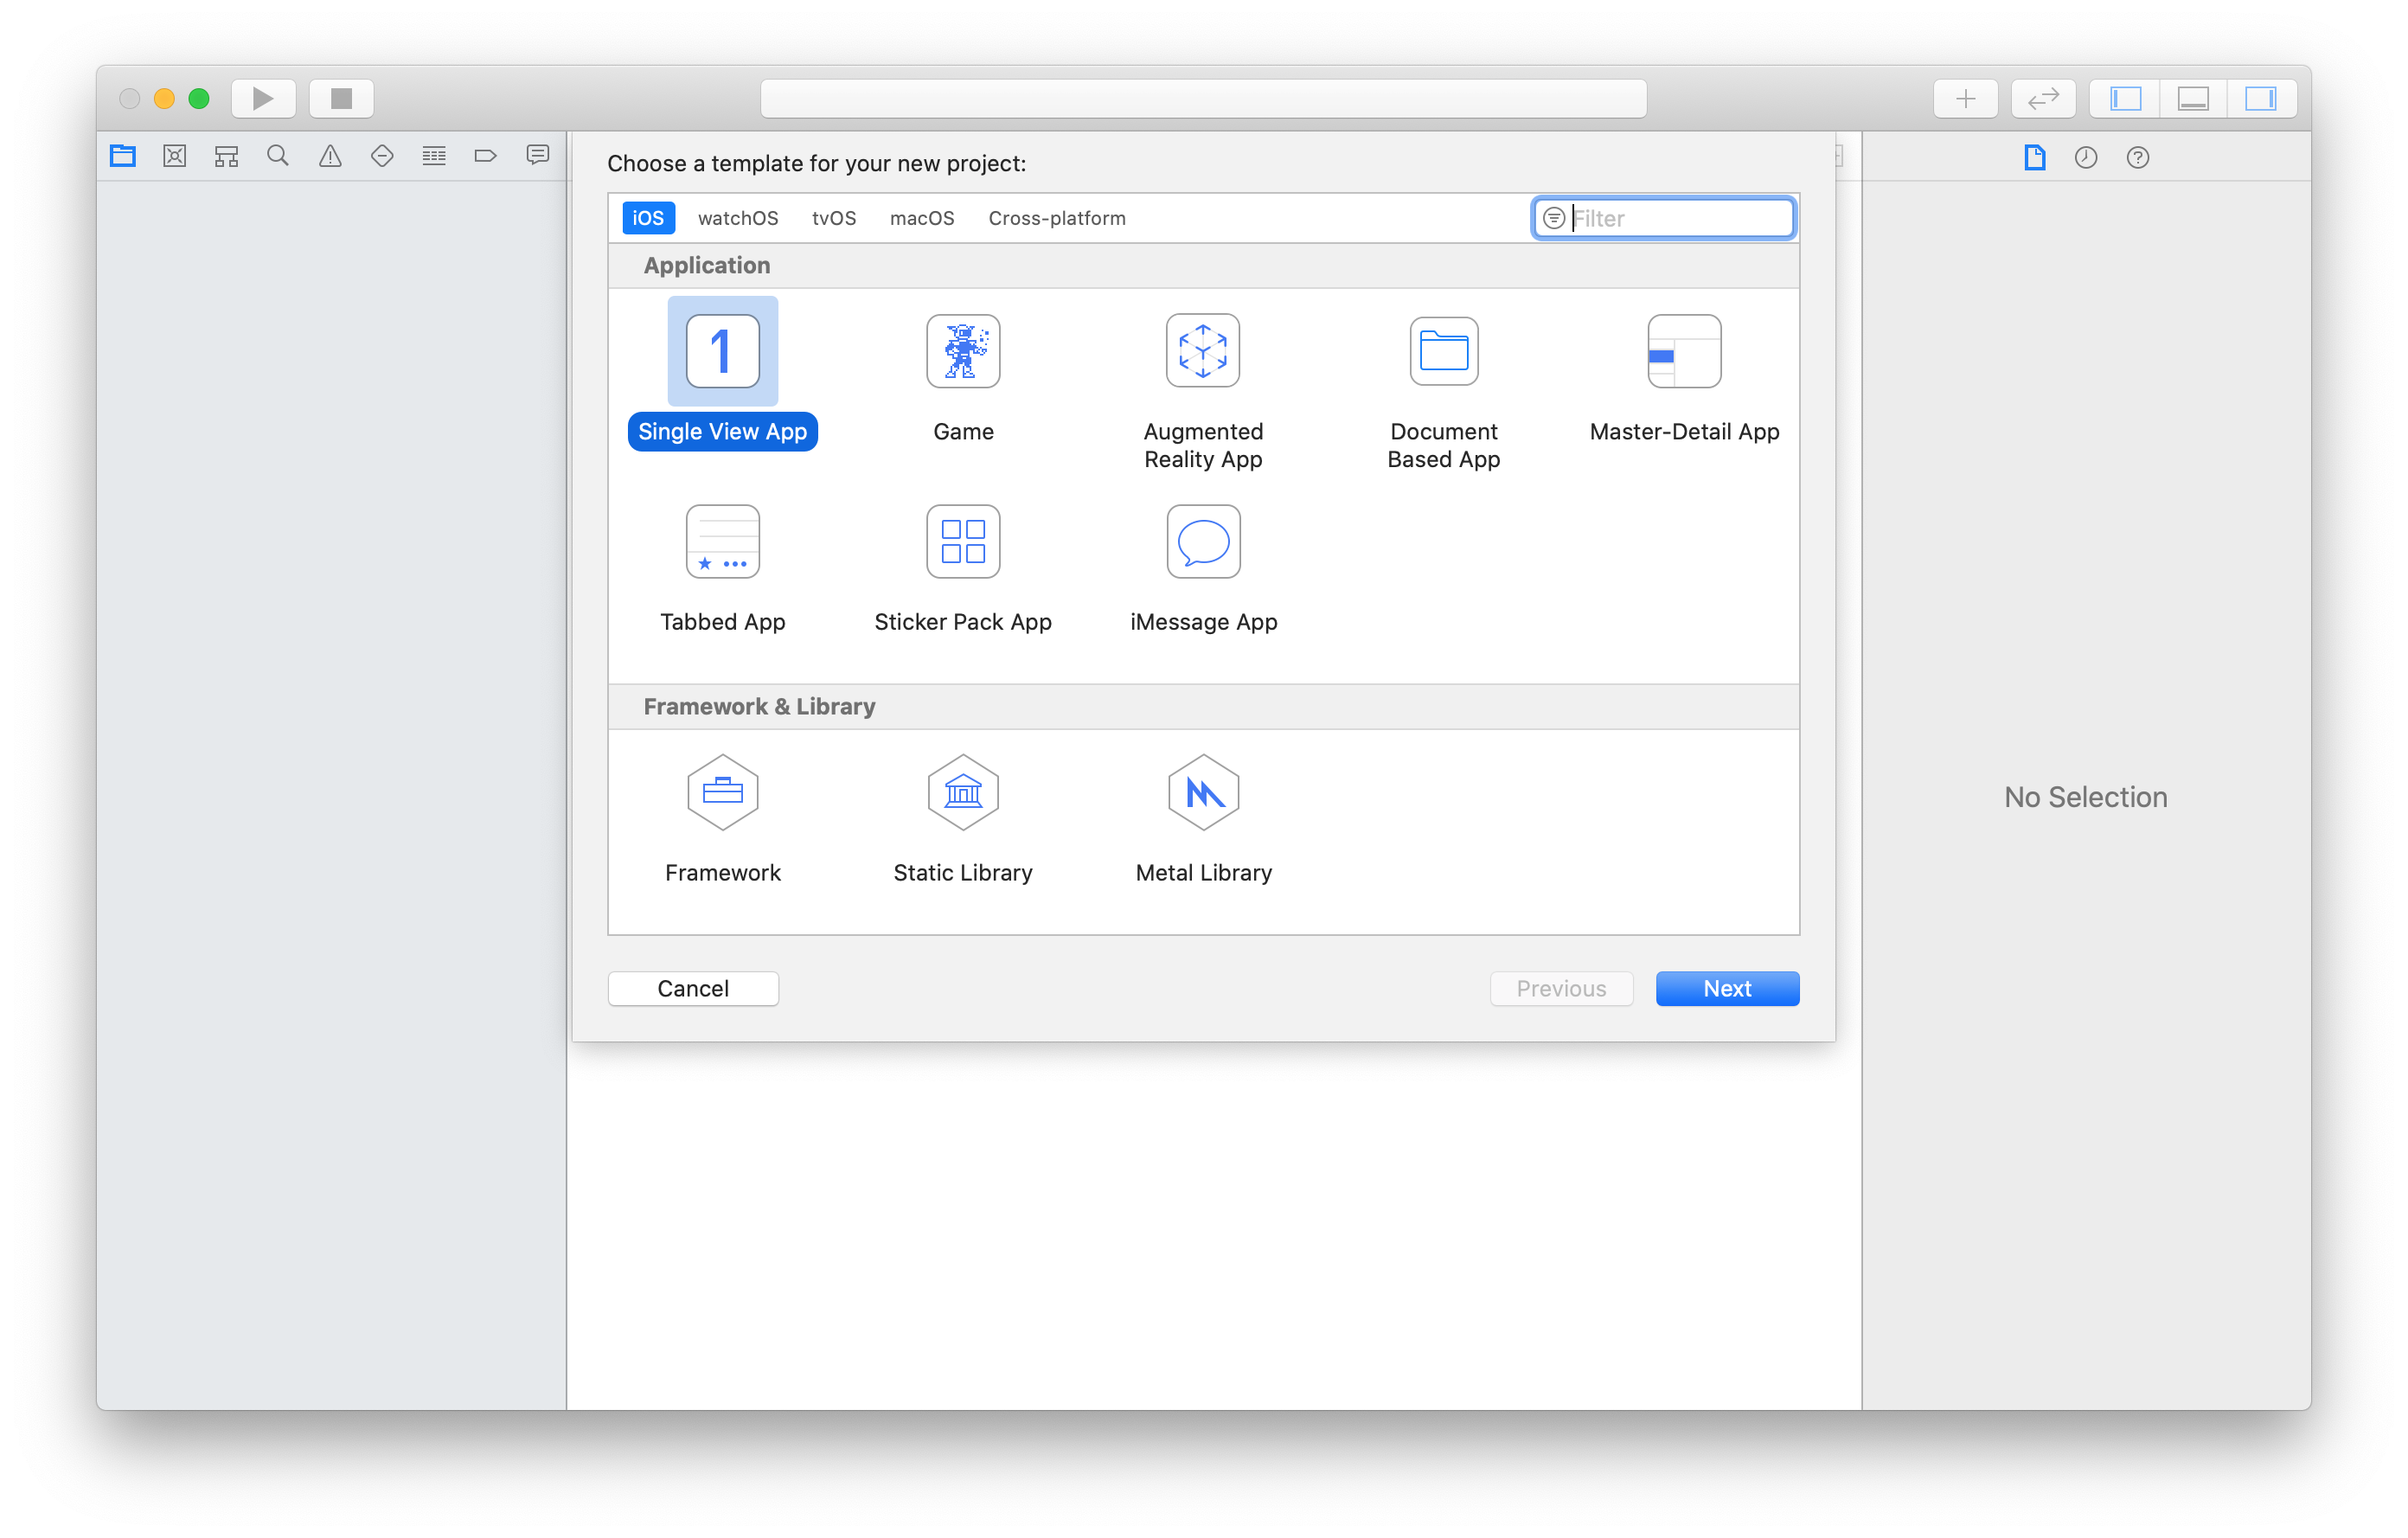
Create a new Single Page app! That’s it.
Creating the Interface
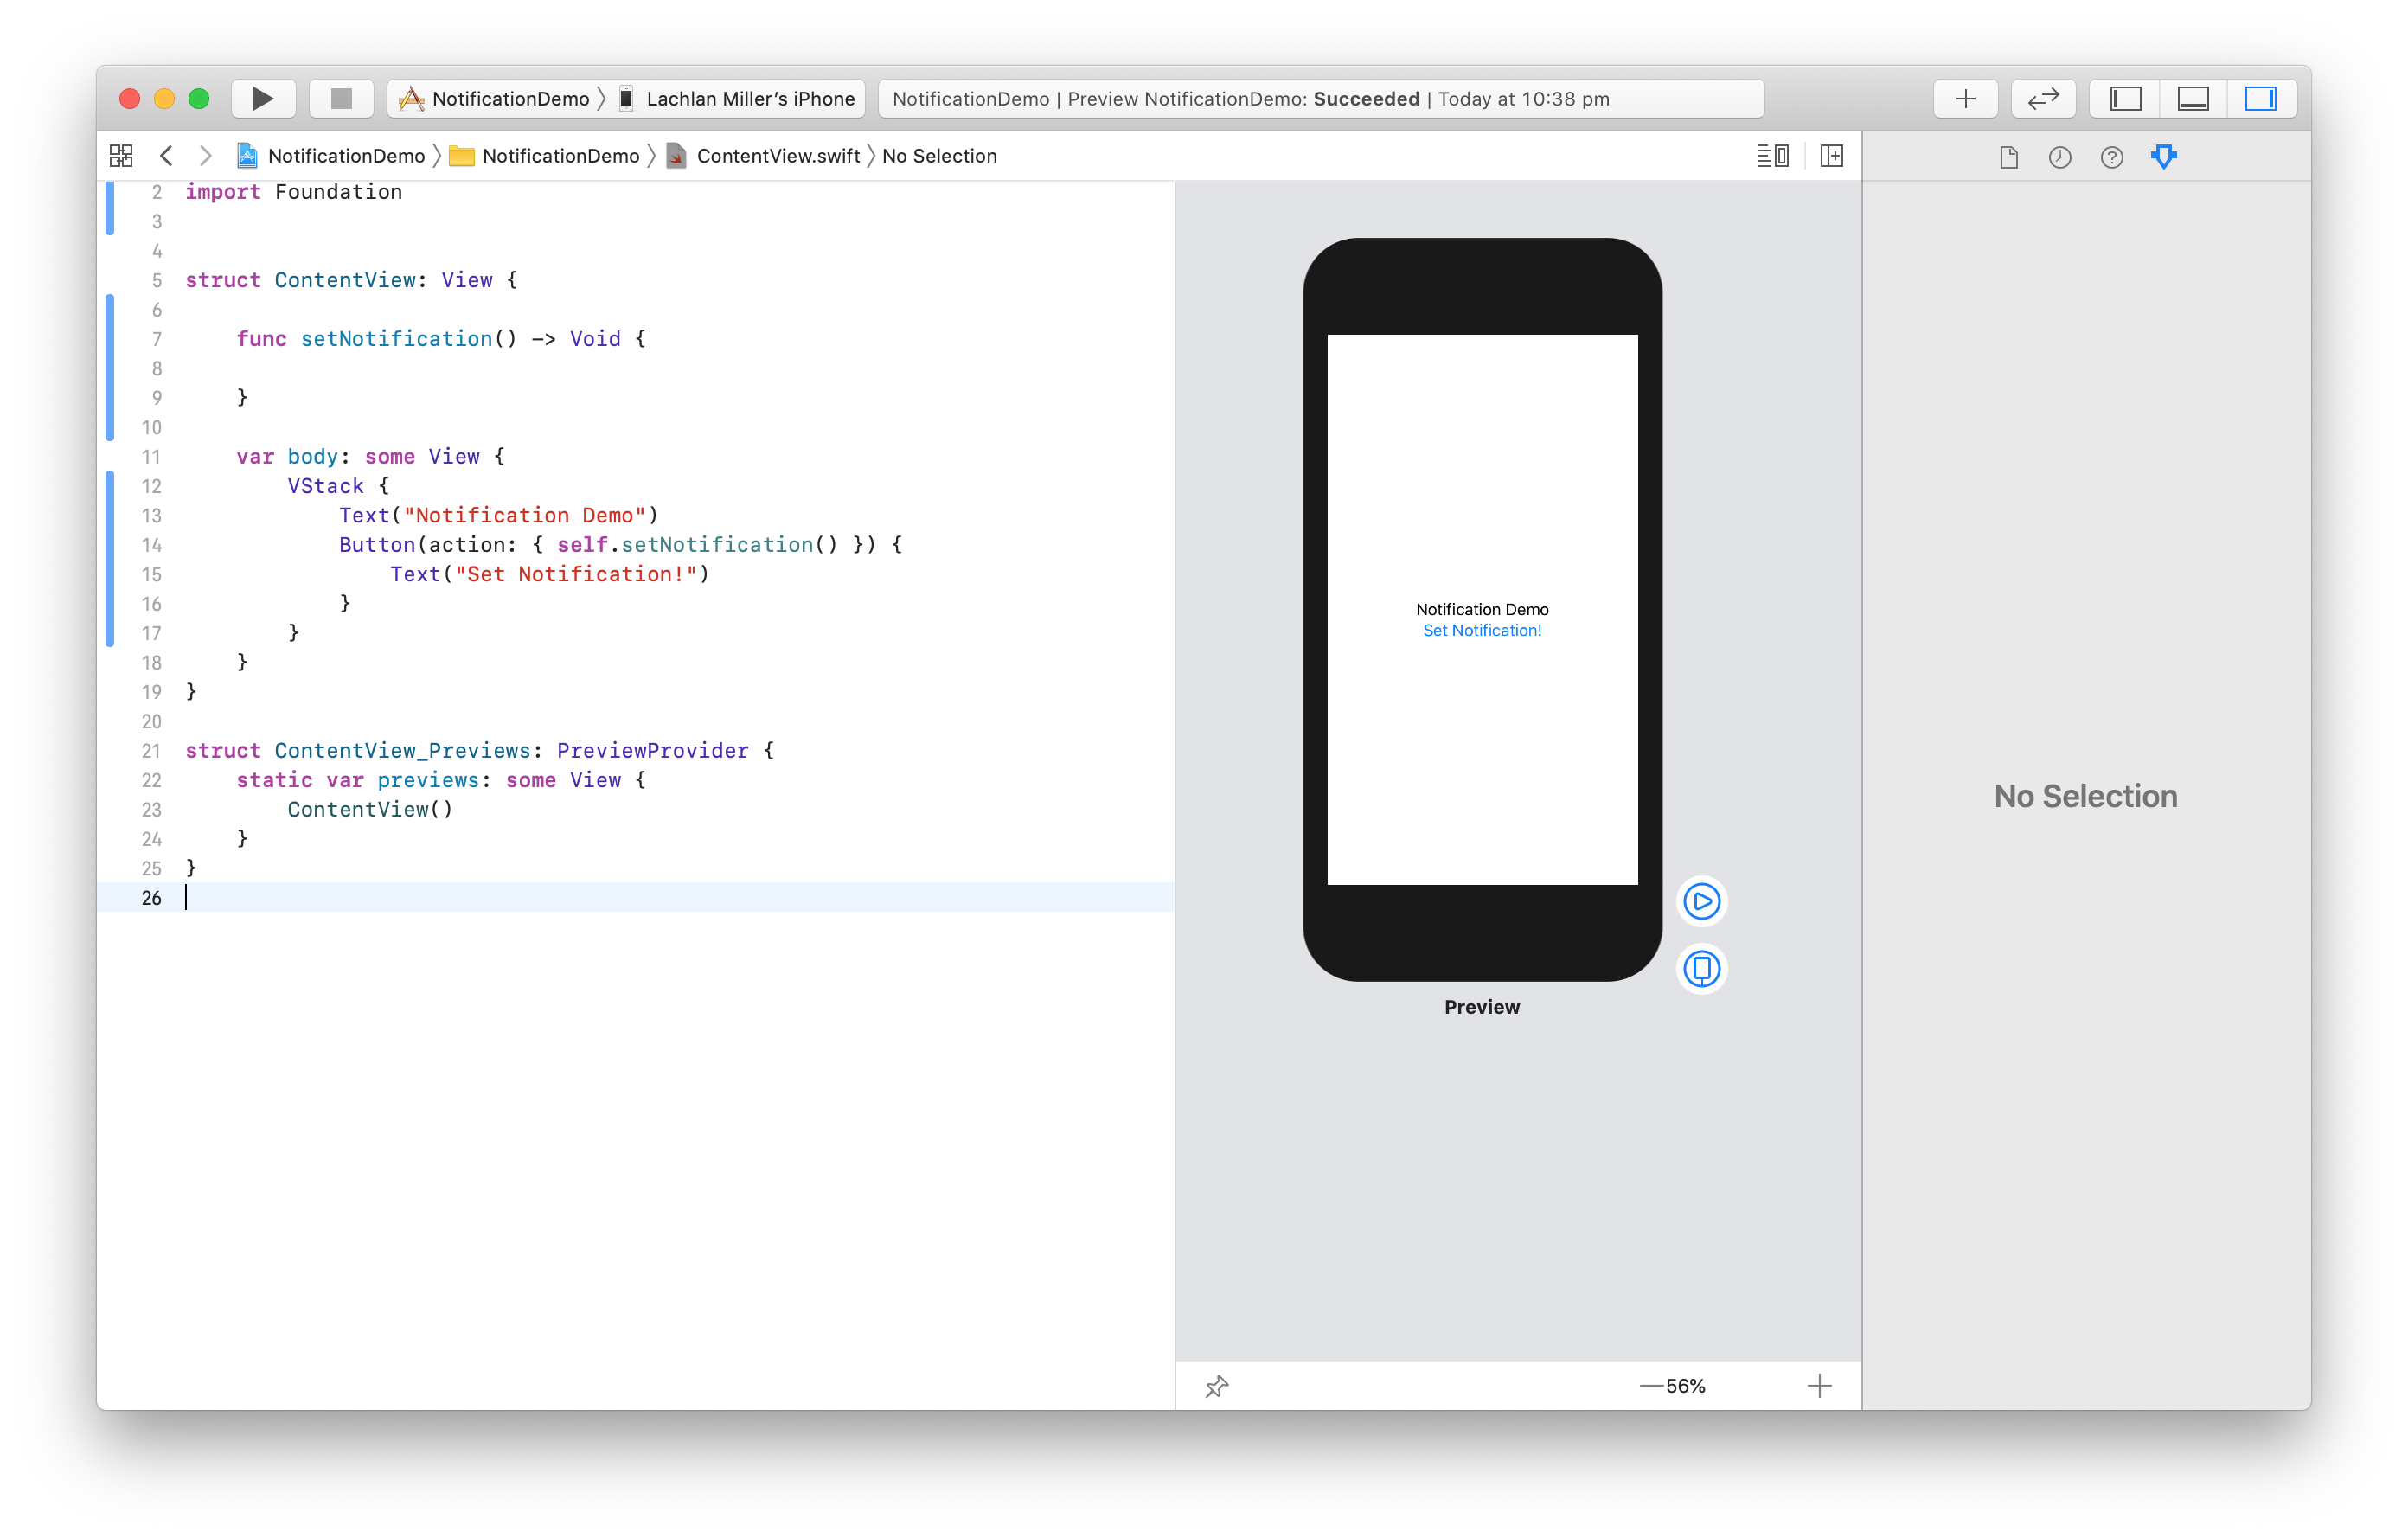
This app will use a very simple interface built using the new SwiftUI. In ContentView.swift, add the following:
import SwiftUI

struct ContentView: View {

    func setNotification() -> Void {

    }

    var body: some View {
        VStack {
            Text("Notification Demo")
            Button(action: { self.setNotification() }) {
                Text("Set Notification!")
            }
        }
    }
}

struct ContentView_Previews: PreviewProvider {
    static var previews: some View {
        ContentView()
    }
}
You should be able to preview this using the canvas. If it is not shown, click “Help” and type “canvas”. It looks like this:
This will let us set a notification by pressing a button. Let’s move onto the main topic: UNUserNotificationCenter. Create a new file, LocalNotificationManager.swift, with some boilerplate code:
struct Notification {
    var id: String
    var title: String
}

class LocalNotificationManager {
    var notifications = [Notification]()
}
Now we will build four functions to handle the notification flow. We need to request permission to show notifications, then schedule some notifications.
Requesting Permission
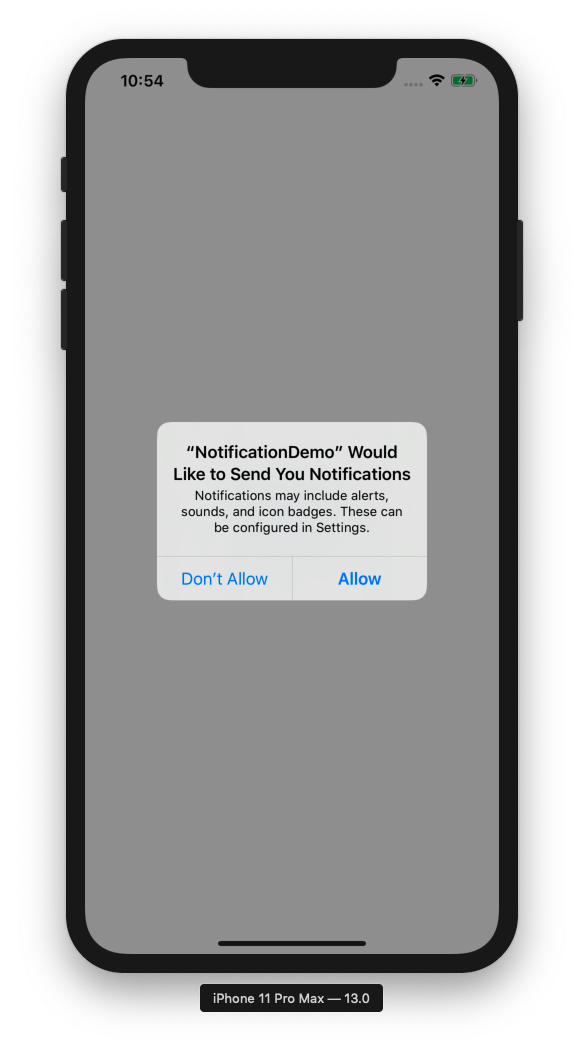
Add a requestAuthorization method. This will request permission to show notifications, and if permission is granted, then schedule any existing notifications the application has created.
import UserNotifications

struct Notification {
    var id: String
    var title: String
}

class LocalNotificationManager {
    var notifications = [Notification]()

    func requestPermission() -> Void {
        UNUserNotificationCenter
            .current()
            .requestAuthorization(options: [.alert, .badge, .alert]) { granted, error in
                if granted == true && error == nil {
                    // We have permission!
                }
        }
    }
}
You can use the simulator or a real device to try this. You should see the following:
Adding Notifications
Next, let’s make a method to add notifications. This will not schedule them - that comes later.
func addNotification(title: String) -> Void {
    notifications.append(Notification(id: UUID().uuidString, title: title))
}
Simple stuff. We use a UUID to ensure the id is unique.
Scheduling Notifications
Now we have a way to request permission and to add some notifications - let’s schedule them with a scheduleNotifications function.
func scheduleNotifications() -> Void {
    for notification in notifications {
        let content = UNMutableNotificationContent()
        content.title = notification.title

        let trigger = UNTimeIntervalNotificationTrigger(timeInterval: 5, repeats: false)
        let request = UNNotificationRequest(identifier: notification.id, content: content, trigger: trigger)

        UNUserNotificationCenter.current().add(request) { error in
            guard error == nil else { return }
            print("Scheduling notification with id: \(notification.id)")
        }
    }
}
There are few interesting things here. Firstly, we use UNMutableNotificationContent. The rest of the code is modelled after the example from the Apple Developer docs. The name Mutable suggests there is an Immutable type - ther isn’t. From what I gathered, the mutable here refers to the part of a UNNotification that is mutable - that is, the content the developer is free to modify.
This example sets a notification to appear in 5 seconds. Other types of notifications include UNCalendarNotificationTriggger. UNLocationNotificationTrigger and UNPushNotificationTrigger.
If you have a device, or use the simulator, you can try this out by updating the setNotification function in ContentView.swift:
func setNotification() -> Void {
let manager = LocalNotificationManager()
manager.requestPermission()
manager.addNotification(title: "This is a test reminder"))
manager.scheduleNotification()
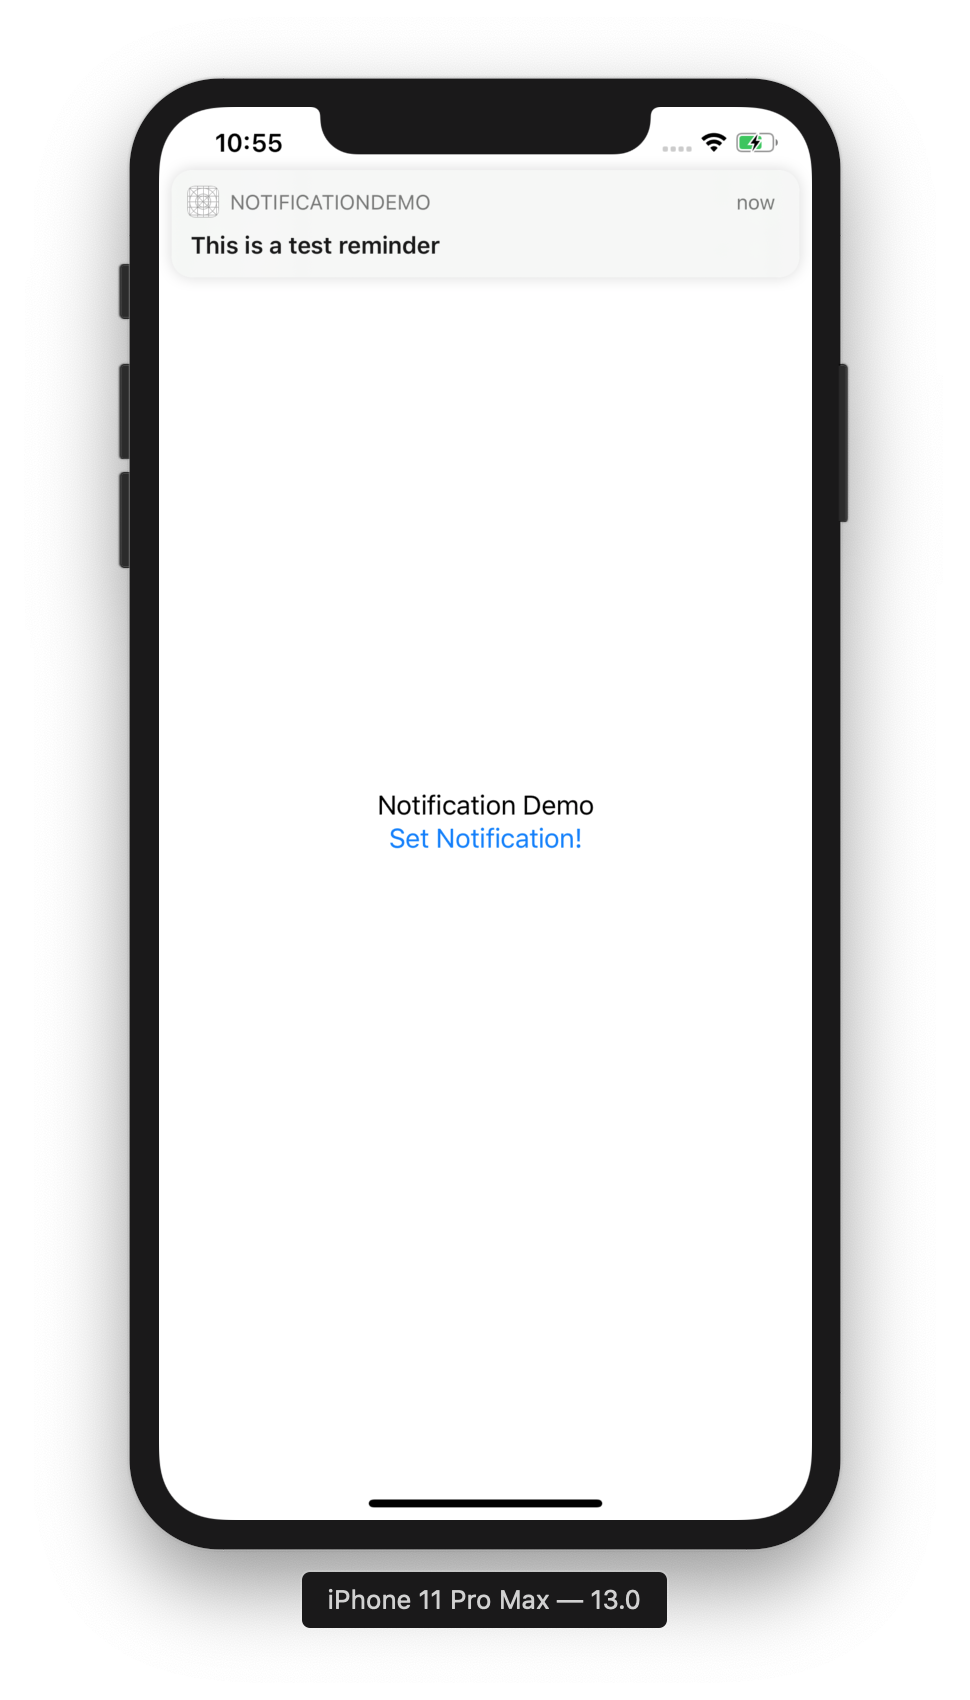
}Click on “Set Notification” and minimize the test app. After 5 seconds pass, you should see the notification! If you did not minimize the app, you will notice the notification does not show. We will address this later. Until iOS 12, notifications would not show if the app was in the foreground, however from iOS 12 you are able to show notifications in both the foreground and background. To do this, you need to add a bit of extra code in AppDelegate.swift. When you extend a class using a delegate, you enable the class to hand off some behaviour to an instance of another type.
According to the docs, the UNUserNotificationCenterDelegate is used to handle incoming notifications. We can use the userNotificationCenter(_:willPresent:withCompletionHandler:) to “ask the delegate how to handle a notification that arrived while the app was running in the foreground”. This is exactly what we need.
Update AppDelegate.swift:
import UIKit
import CoreData

@UIApplicationMain
class AppDelegate: UIResponder, UIApplicationDelegate, UNUserNotificationCenterDelegate {

    func userNotificationCenter(
        _ center: UNUserNotificationCenter,
        willPresent notification: UNNotification,
        withCompletionHandler completionHandler: @escaping (UNNotificationPresentationOptions)
        -> Void) {
        completionHandler([.alert, .badge, .sound])
    }

    func application(_ application: UIApplication, didFinishLaunchingWithOptions launchOptions: [UIApplication.LaunchOptionsKey: Any]?) -> Bool {
        // Override point for customization after application launch.
        UNUserNotificationCenter.current().delegate = self
        return true
    }

    // ... omitted
}
There are several changes:
- Add
UNUserNotificationCenterDelegateto the class declaration - Add a
userNotificationCenterfunction that calls thecompletionHandler - Assign
UNUserNotificationCenter.current().delegatetoselfinapplication
Now you can press “Set Notification” and see a notification appear in-app.
A Refactor using getNotificationSettings
We can improve the code a bit - namely, only ask for permission if we haven’t already asked. Add a schedule function to the LocalNotificationManager class:
func schedule() -> Void {
      UNUserNotificationCenter.current().getNotificationSettings { settings in
          switch settings.authorizationStatus {
          case .notDetermined:
              self.requestPermission()
          case .authorized, .provisional:
              self.scheduleNotifications()
          default:
              break
          }
      }
  }
Now we don’t need to know the authorization status - just call schedule. Since we still want to schedule notifications after asking for permission, update requestPermission:
func requestPermission() -> Void {
    UNUserNotificationCenter
        .current()
        .requestAuthorization(options: [.alert, .badge, .alert]) { granted, error in
            if granted == true && error == nil {
                self.scheduleNotifications()
                // We have permission!
            }
    }
}
The final code for ContentView.swift is now as follows:
import SwiftUI
import Foundation


struct ContentView: View {

    func setNotification() -> Void {
        let manager = LocalNotificationManager()
        manager.addNotification(title: "This is a test reminder")
        manager.schedule()
    }

    var body: some View {
        VStack {
            Text("Notification Demo")
            Button(action: { self.setNotification() }) {
                Text("Set Notification!")
            }
        }
    }
}

struct ContentView_Previews: PreviewProvider {
    static var previews: some View {
        ContentView()
    }
}
Conclusion
This article introduces a number of things, including:
UNUserNotificationCenter- SwiftUI (not the main focus, but still nice!)
- Using delegates, specifically the
UNUserNotificationCenterDelegate - The
requestAuthorizationAPI