ReactVR is an exciting new way to build 3D and VR environments, which can be easily deployed and accessed in a browser. One of the first things you will want to do in any web app is allow the user to interact with your creation. This leads to the topic of this post, handling events in ReactVR.
The source code for this article is here.
Setup
There are lots of guides to get ReactVR set up. You can follow the official documentation. Basically:
npm install -g react-vr-cli
react-vr init EventsInReactVR
cd EventsInReactVR
npm start
Visiting localhost:8081/vr should yield the “hello” as shown in the official docs.
Before adding some code, let’s talk about two important concepts.
Cursors in Input
When handling eventsin ReactVR, there are two prerequisites you need to know about. Cursors, which let you trigger events, and inputs, which let you respond to them.
Cursors
ReactVR implements cursors as raycasters. You can read more here, but basically a raycast is when a line is drawn in the direction of a cursor (for example, the mouse cursor) until it intecept something. More can be read here.
Events
In ReactVR, raycasts continue and return when they collide with a view or mesh with at least one of the following:
onEnteronExitonMove
There is also one more event, onInput, which responds to all interactions: keyboard, mouse, touch, and gamepads. We will see all four events in action.
onMove and onEnter
Let’s write some code. Inside of index.vr.js, remove the boilerplate and add the following. An explanation of all the code follows.
import React from 'react';
import {
  AppRegistry,
  Text,
  View,
  StyleSheet
} from 'react-vr';

const styles = StyleSheet.create({
  view: {
    width: 1,
    height: 1,
    backgroundColor: 'lime',
    transform: [{ translate: [0, 0, -1] }],
    layoutOrigin: [0.5, 0.5],
  },
  entered: {
    borderColor: 'red',
    borderWidth: 0.05
  }
})

export default class Events extends React.Component {
  constructor() {
    super()
    this.state = { entered: false }
  }
  render() {
    return (
      <View
        onEnter={() => {
          this.setState({ entered: true }); console.log('enter')
        }
        onExit={() => {
          this.setState({ entered: false }); console.log('leave')
        }
        style={[styles.view, this.state.entered ? styles.entered : {}]}
      >
      </View>
    );
  }
};

AppRegistry.registerComponent('Events', () => Events);
First we import some components. Normal React. The styles object is a bit more interesting.
in ReactVR, measurements are in meters. This means an object with a
heightandwidthof1will appear as 1 meter tall.transform: [{ translate: [0, 0, -1]} ]moves the<View>forward by 1 meter. In ReactVR, the user is facing -z by default. If we left it at [0, 0, 0], which is the default, the plane would be “on top” of us, and we would not be able to see it. Try changing the-1to-0.5, or-2.layoutOriginmoves the location of the view.[0, 0]is the top left hand coordinate of the view. By adjusting it by0.5on both thexandyaxis, we center the view. Remember, the view is 1m height and 1m wide. Moving it 0.5m in both directions centers it.
Note on transform: the transform property is interesting. You can pass scale and rotation, and the order is important. More here.
In render, we simply render the view with the stylesheet. We also set up listeners for the first two events we will look at, onEnter and onExit, which a console.log to verify they are working before moving forward.
If you typed everything correctly, refreshing localhost:8081/vr should show:
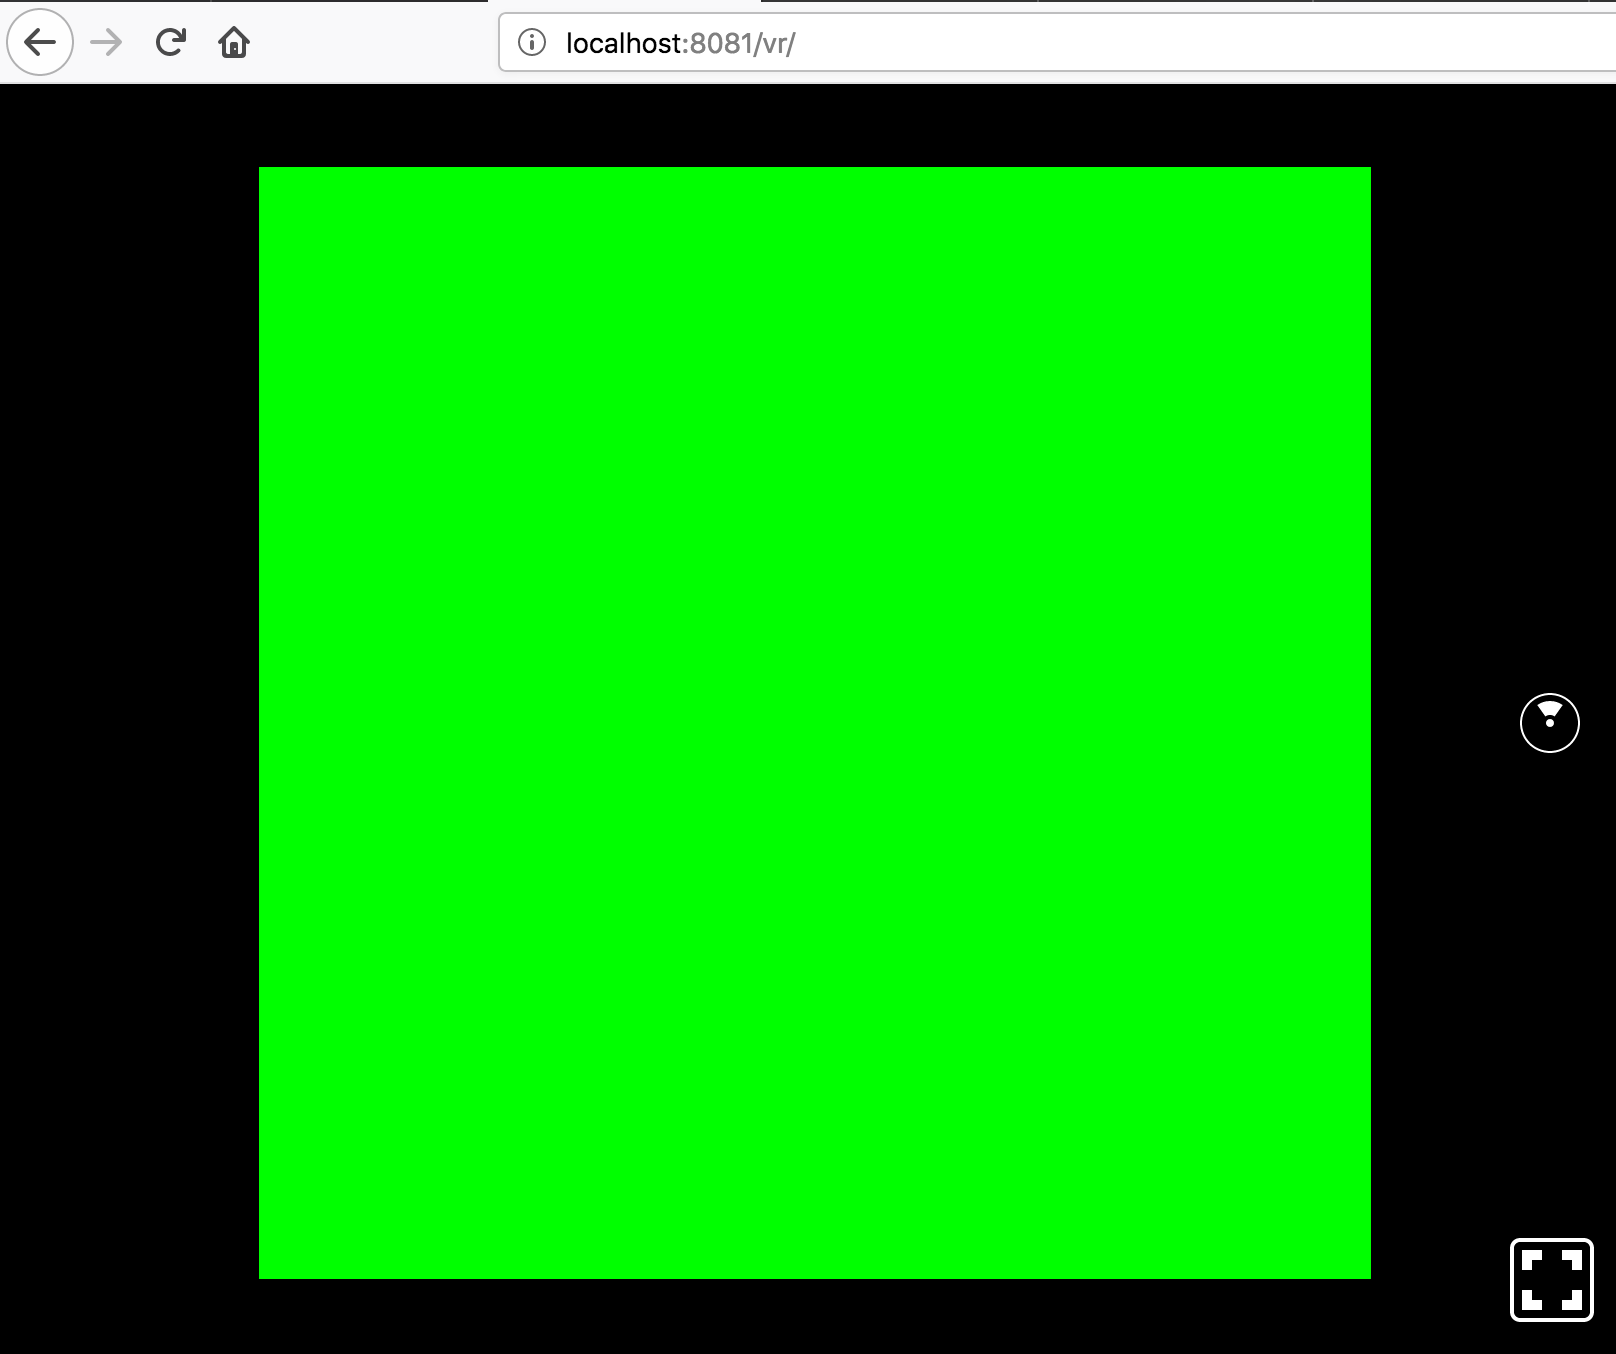
And the console when you move your cursor in and out of the view:
Moving your cursor in and our of the view should print enter and leave messages in your console. The border should also become red.
onMove
Okay, so we see how onEnter and onExit work. onMove isn’t much different, but let’s see two quick examples of how it works, and what event properties are made available by ReactVR.
First, update the component as follows:
// ... imports and stylesheet

export default class Events extends React.Component {
  constructor() {
    super()

    this.state = { count: 0 }
  }

  render() {
    return (
      <View
        onMove={() => this.setState({ count: this.state.count + 1 })}
        style={styles.view}
      >
        <Text>
          {this.state.count}
        </Text>
      </View>
    );
  }
};

AppRegistry.registerComponent('Events', () => Events);
We remove the two previous events, and replaced them with onMove. Try refreshing and mousing over - you should see the count increasing on the screen - every frame you move your cursor inside the view.
Event Properties
ReactVR provides a number of useful properties for us to observe, including the type of event (mouse, keyboard, gamepad, etc).
To see this information, refactor the above snippet as such:
export default class Events extends React.Component {
  constructor() {
    /* no change */
  }

  handle(e) {
    const evt = e
    this.setState({ count: this.state.count + 1 })
    console.log(`Event: `, evt)
  }

  render() {
    return (
      <View
        onInput={e => this.handle(e)}
        style={styles.view}
      >
        <Text>
          {this.state.count}
        </Text>
      </View>
    );
  }
}
Refresh the page, and try moving your mouse around. You will notice the count increasing a lot faster, and a ton of action in the console. onInput is called on every frame of input - each time you move the mouse in the view, the counter increments.
You will also notice instead of the usual JavaScript event, with properties like srcTarget, path, and so on, the console displays [object Object].
The reason is event is not a native JavaScript event, but a SyntheticEvent, part of React’s Event System. Some information can be found in this issue, and this StackOverflow answer. We can access more information by doing evt.nativeEvent.inputEvent. Let’s try it out. Update handle:
handle(e) {
  const evt = e.nativeEvent.inputEvent
  this.setState({ count: this.state.count + 1 })
  console.log(`Event: `, evt)
}
The console now shows:
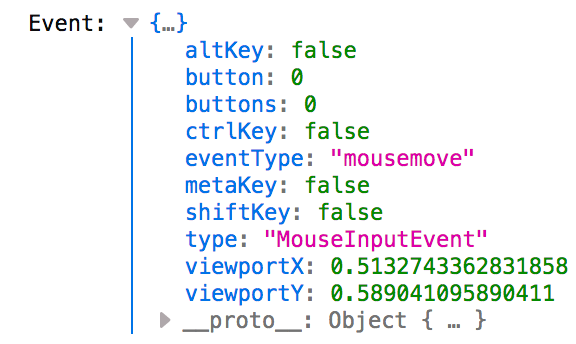
Much more granular. The console is a bit overwhelming now, since handle is triggering every frame we move the mouse. In the above screenshot, you can see a type property with the value of MouseInputEvent. Another type of event available is KeyboardInputEvent. Update handle to only trigger on KeyboardInputEvent and show some of the properties:
handle(e) {
  const evt = e.nativeEvent.inputEvent
  if (evt.type === 'KeyboardInputEvent') {
    this.setState({ count: this.state.count + 1 })
    console.log(`Key pressed. \nkeyCode: ${evt.keyCode}.\nkey: ${evt.key}\neventType: ${evt.eventType}`)

  }
}
Refresh the page, ensure the view is focused by clicking it, and press any key. The count instantly hits 3, and the console shows:
Key pressed.
keyCode: 68.
key: d
eventType: keydown

Key pressed.
keyCode: 0.
key: d
eventType: keypress

Key pressed.
keyCode: 68.
key: d
eventType: keyup
Key pressed.
So actually three events are occurring, the initial press (keydown), the input itself (keypress) and when the key is released (keyup). All of these are useful. If you continue to hold the key, keydown and keypress will continually trigger.
Conclusion
ReactVR makes it easy to detect and respond to events. You can also build your own events using raycasts, as long as you implement the required methods. I am looking forward to learning more ReactVR. The source code is here.